Create an Account
Articles in this section
🚀 Getting Started
📥 Importing Recipes
- How to Import Recipes
- Import from a Website
- Import from Instagram
- Import from Facebook
- Import from TikTok
- Import from Pinterest
- Import from YouTube
- Scan a Recipe from Photo
- Dictate a Recipe by Voice
- Import by Pasting Text
- Use the In-App Browser
- Write a Recipe from Scratch
- Review & Edit Before Saving
- Understanding Import Credits
📂 Managing Recipes
👨🍳 Cooking Mode
📅 Meal Planning
🛒 Grocery List
📤 Sharing & Export
💳 Billing & Subscription
⚙️ Account & Settings
ℹ️ About Cookonut
💡 Ideas & Feedback
A Cookonut account is free and takes less than a minute to set up. Your account keeps your recipes, meal plans, and preferences synced and backed up to the cloud.
Why You Need an Account
Your account provides:
- Cloud backup — your recipes are saved securely and never lost, even if you lose your phone
- Cross-device sync — access your recipes on multiple devices
- Import credits — you need an account to use AI-powered imports
- Preferences — your language, units, and theme settings are tied to your account
How to Sign Up
When you first open Cookonut, you’ll see the welcome screen with sign-up options:
Sign Up with Apple (iOS)
- Tap Continue with Apple
- Confirm with Face ID, Touch ID, or your Apple ID password
- You can choose to share or hide your email — both options work fine
- You’re in! No password to remember.
Sign Up with Google
- Tap Continue with Google
- Select your Google account (or sign into one)
- Approve the connection
- Done — your Google account handles authentication
Sign Up with Email
- Tap Sign Up with Email
- Enter your email address
- Create a password (use something strong and memorable)
- Tap Create Account
- Check your inbox for a verification email
- Tap the link in the email to verify your account
- Return to Cookonut — you’re signed in

Which Method Should I Choose?
Apple Sign-In (iPhone users) — Fastest, most private. No password needed.
Google Sign-In — Works on both iOS and Android. Convenient if you use Google for everything.
Email — Works everywhere. You control the email address and password. Best if you prefer not to link your Apple or Google account.
All three methods provide the same features and experience.
After Creating Your Account
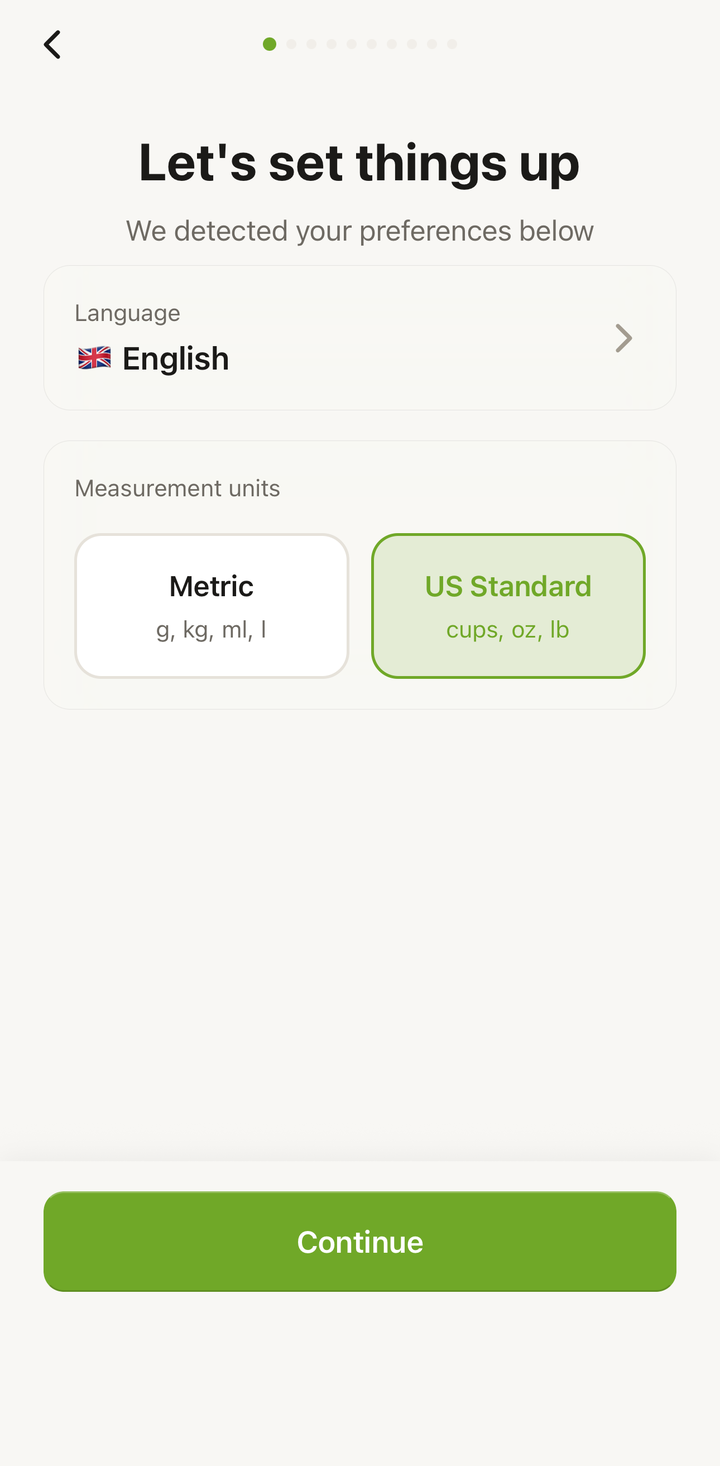
Once signed in, you’ll go through a quick onboarding:
- Choose your language
- Set your preferred measurement units
- You’re taken to the Recipes tab, ready to start
Your Free Account Includes
- 10 AI import credits per month (from websites, photos, voice, or pasted text)
- Up to 50 saved recipes
- Unlimited manual recipe creation (from scratch)
- Meal planner, grocery list, cooking mode, cookbooks
- Cloud sync and offline access
- Export and print
No credit card is required. You can upgrade to Premium later if you want unlimited imports and more features.
Signing In on a New Device
If you get a new phone or want to use Cookonut on another device:
- Install Cookonut
- Tap Sign In
- Use the same method you originally signed up with
- Your recipes, cookbooks, meal plans, and settings sync automatically
Troubleshooting
Verification email not arriving: Check your spam folder. Try re-sending the verification email from the sign-up screen. Make sure you typed your email correctly.
“Account already exists”: You may have previously signed up. Try signing in instead, or use the forgot password option if you used email.
Apple/Google Sign-In not working: Make sure you’re signed into your Apple ID or Google account in your device settings. Restart the app and try again.
Thanks for your feedback! We're glad it helped.