Write a Recipe from Scratch
Articles in this section
🚀 Getting Started
📥 Importing Recipes
- How to Import Recipes
- Import from a Website
- Import from Instagram
- Import from Facebook
- Import from TikTok
- Import from Pinterest
- Import from YouTube
- Scan a Recipe from Photo
- Dictate a Recipe by Voice
- Import by Pasting Text
- Use the In-App Browser
- Write a Recipe from Scratch
- Review & Edit Before Saving
- Understanding Import Credits
📂 Managing Recipes
👨🍳 Cooking Mode
📅 Meal Planning
🛒 Grocery List
📤 Sharing & Export
💳 Billing & Subscription
⚙️ Account & Settings
ℹ️ About Cookonut
💡 Ideas & Feedback
Sometimes you don’t have a link to import or a photo to scan — you just know the recipe and want to type it in. Cookonut’s manual recipe editor lets you create a recipe from scratch, field by field. Best of all, this method never uses any import credits, so it’s always unlimited.
How to Create a Recipe Manually
- Open Cookonut and go to the Recipes tab
- Tap the + button
- Choose Create from scratch
- You’ll see the recipe editor with empty fields ready to fill in
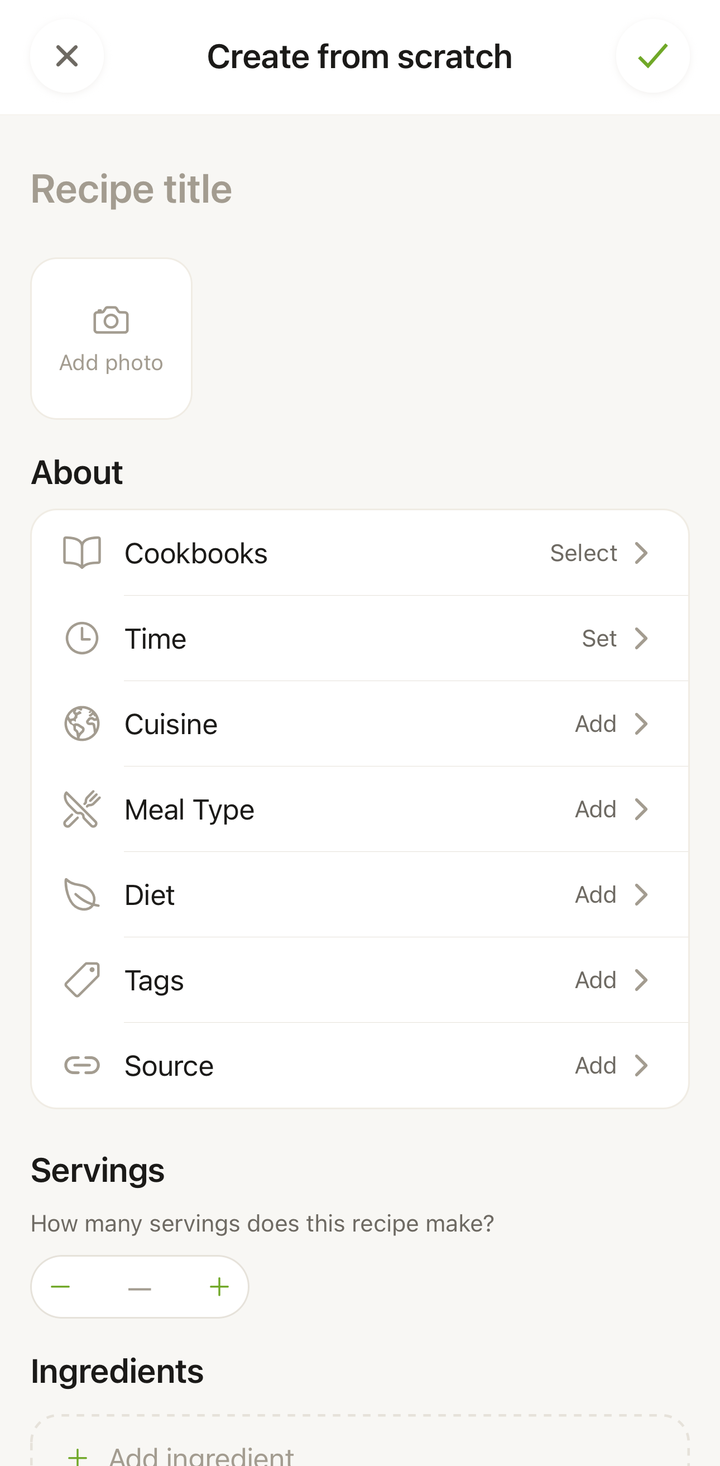
Filling In the Recipe
Title and Description
Start with the basics:
- Title — the name of your recipe (e.g., “Mom’s Chocolate Chip Cookies”)
- Description — an optional short summary or personal note about the recipe
Photo
Tap the photo area to add an image:
- Take a photo of the finished dish
- Choose from your camera roll
- Or skip it for now — you can always add a photo later
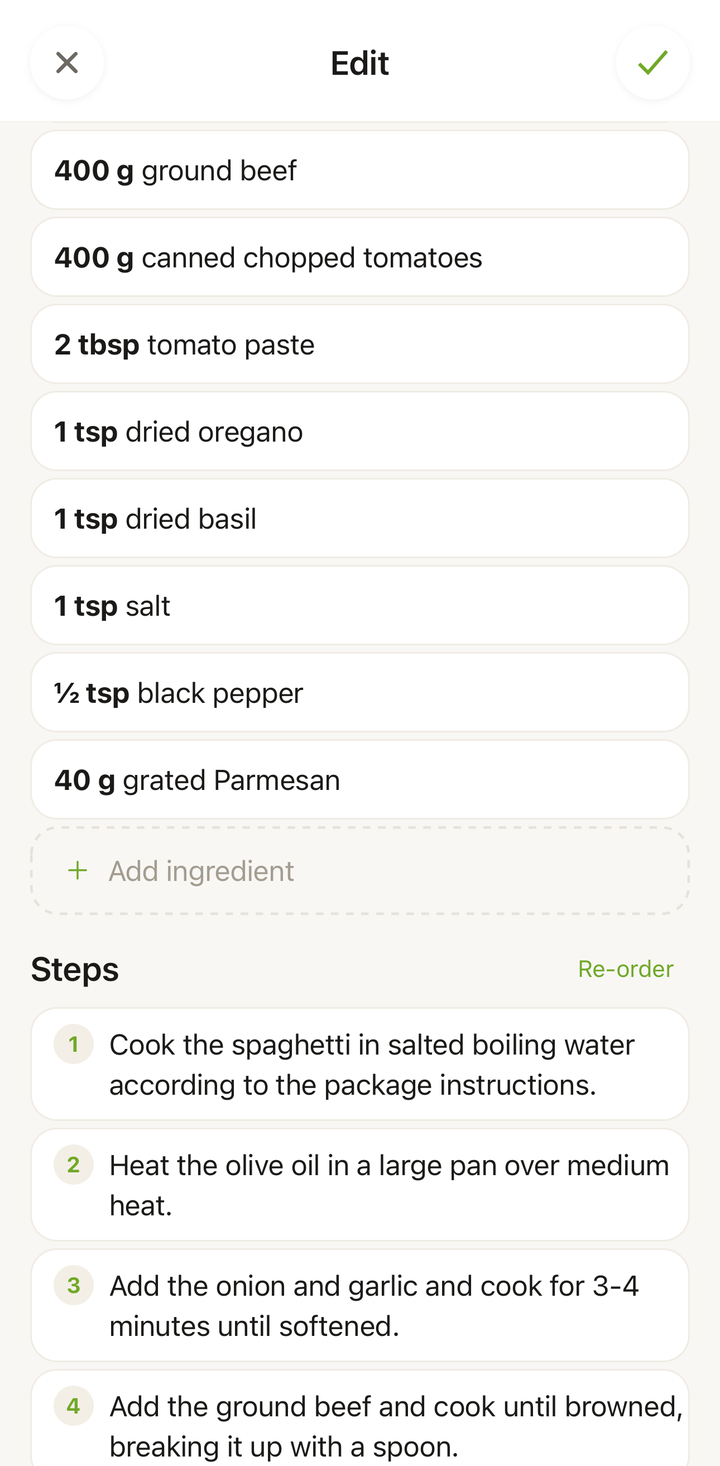
Ingredients
Add ingredients one by one:
- Tap Add Ingredient
- Enter the quantity (e.g., “2”), unit (e.g., “cups”), and item name (e.g., “all-purpose flour”)
- Repeat for each ingredient
- Drag to reorder ingredients if needed
You can also add ingredient groups (like “For the dough” and “For the frosting”) to organize recipes with multiple components.
Instructions
Add steps one by one:
- Tap Add Step
- Type the instruction for that step
- Repeat for each step
- Steps are automatically numbered — drag to reorder if needed
Keep each step focused on one action for the best experience in cooking mode.
Times and Servings
Fill in the practical details:
- Prep time — how long the hands-on preparation takes
- Cook time — how long it cooks, bakes, or simmers
- Servings — how many portions the recipe makes
Tags and Categories
Add metadata to help you organize and find the recipe later:
- Meal type — breakfast, lunch, dinner, snack, dessert
- Cuisine — Italian, Mexican, Japanese, etc.
- Tags — any custom labels you want (e.g., “quick,” “family favorite,” “gluten-free”)
- Cookbook — assign it to one or more cookbooks
Save Your Recipe
When you’ve filled in everything, tap Save at the bottom of the screen. Your recipe is now part of your collection, just like any imported recipe. You can open it in cooking mode, add it to your meal plan, scale servings, and everything else.
No Credits Used
Writing a recipe from scratch is completely free and does not use any import credits. This means:
- You can create as many manual recipes as you want (up to your plan’s recipe limit)
- It’s a great option if you’ve used your monthly credits
- Family recipes, personal creations, and recipes you know by heart are perfect for manual entry
Tips
- You don’t have to fill everything in at once — save a recipe with just a title and ingredients, then add steps later by editing it
- Be specific with quantities — “200g butter” is better than “butter” when you want to scale servings or generate a grocery list
- Use ingredient groups for complex recipes — it keeps things organized
- Short, clear steps work best in cooking mode — each step should be one thing to do
When to Write from Scratch vs. Import
Use Create from scratch when:
- It’s your own original recipe
- You know the recipe by heart
- You’re adapting a recipe with your own changes
- You want to save credits
Use an import method when:
- You already have the recipe — from a website, social media post, photo, or pasted text
- You want to save time on data entry
- The recipe is from an external source
Thanks for your feedback! We're glad it helped.