Use the In-App Browser
Articles in this section
🚀 Getting Started
📥 Importing Recipes
- How to Import Recipes
- Import from a Website
- Import from Instagram
- Import from Facebook
- Import from TikTok
- Import from Pinterest
- Import from YouTube
- Scan a Recipe from Photo
- Dictate a Recipe by Voice
- Import by Pasting Text
- Use the In-App Browser
- Write a Recipe from Scratch
- Review & Edit Before Saving
- Understanding Import Credits
📂 Managing Recipes
👨🍳 Cooking Mode
📅 Meal Planning
🛒 Grocery List
📤 Sharing & Export
💳 Billing & Subscription
⚙️ Account & Settings
ℹ️ About Cookonut
💡 Ideas & Feedback
Cookonut includes a built-in web browser so you can search for recipes, browse your favorite food sites, and save recipes — all without leaving the app. No more switching between your browser and Cookonut.
How to Open the In-App Browser
- Open Cookonut and go to the Recipes tab
- Tap the + button
- Choose In-App Browser
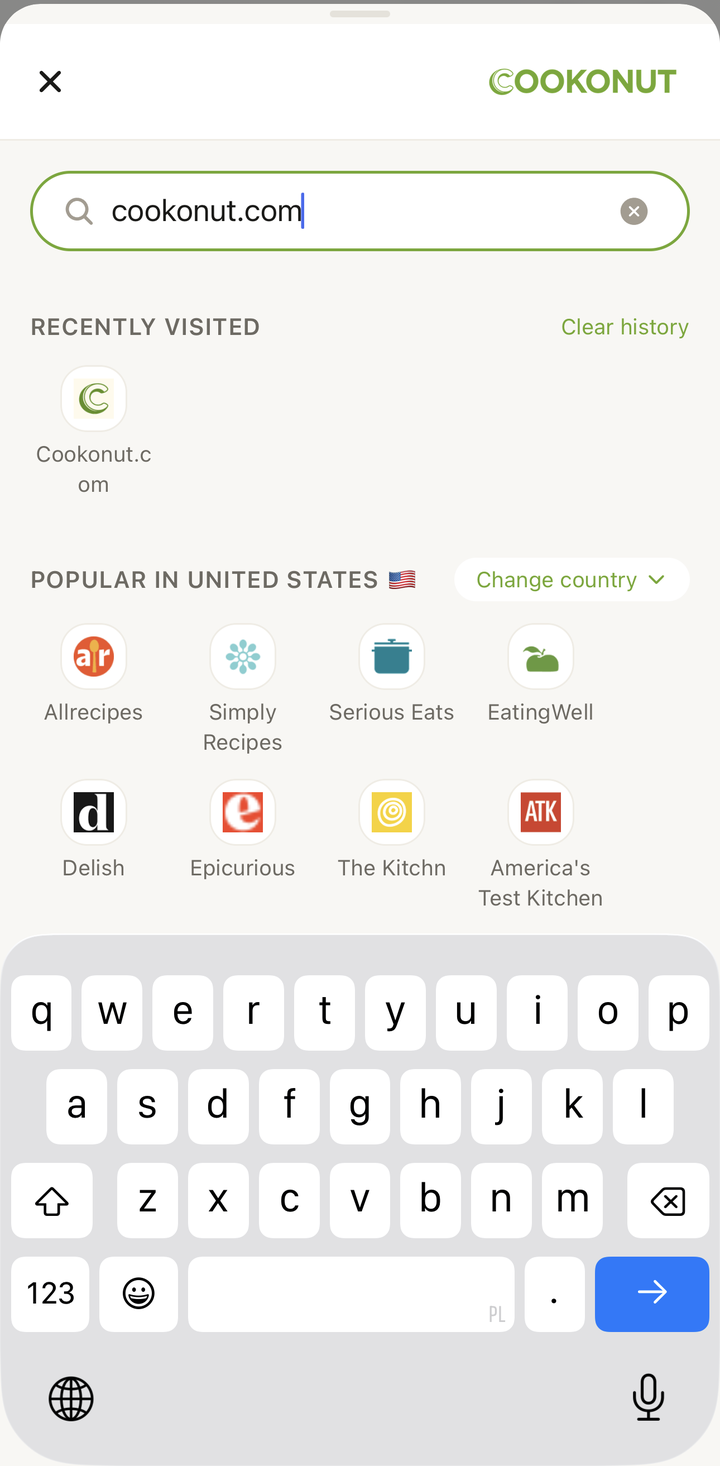
- The browser opens with a search bar at the top
Browsing and Searching
The in-app browser works just like any web browser:
- Type a URL directly in the address bar to go to a specific website
- Type search terms to search the web for recipes (e.g., “easy chicken tikka masala recipe”)
- Tap links to navigate between pages
- Use the back and forward buttons to move through your browsing history
- Bookmark your favorite recipe sites for quick access later
Saving a Recipe
When you find a recipe you want to save:
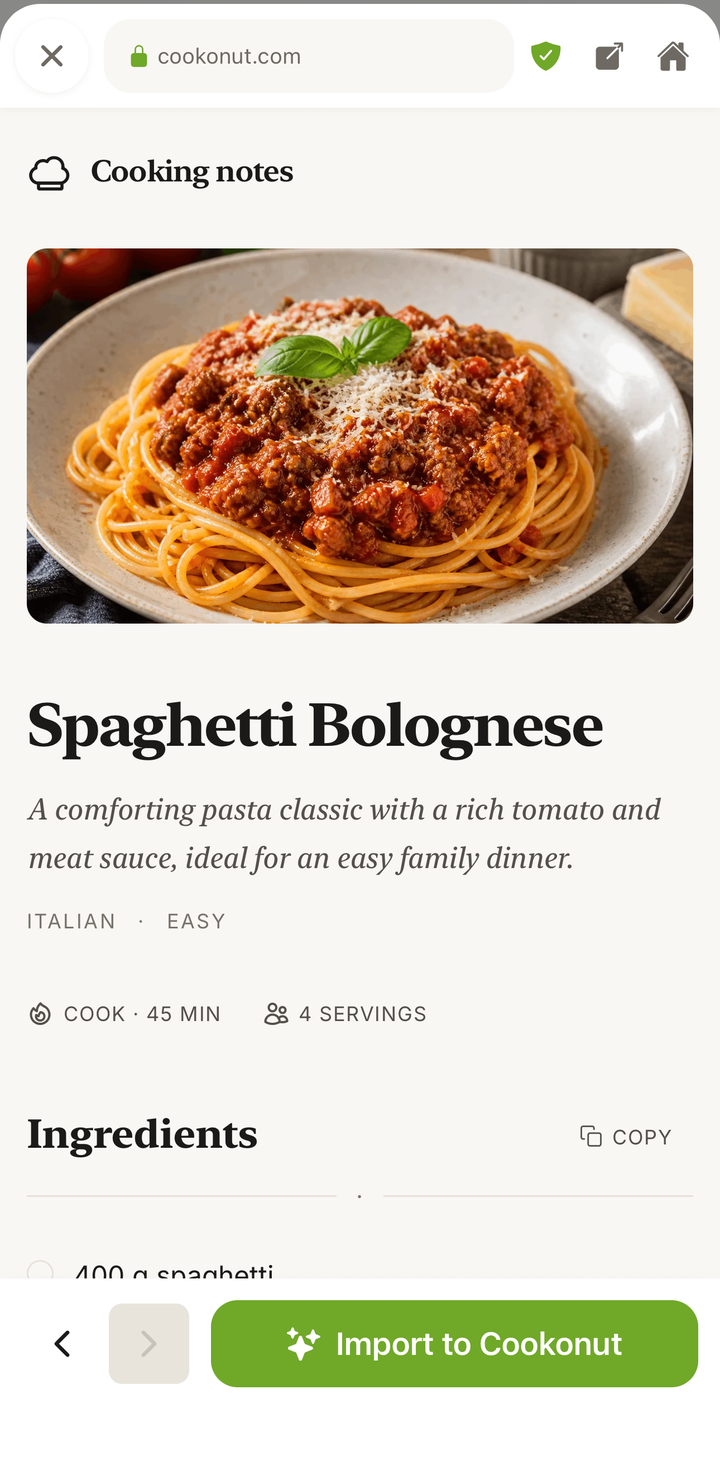
- Make sure you’re on the recipe page (the page that shows the full recipe with ingredients and instructions)
- Tap the Save or Import button (you’ll see it in the browser toolbar)
- Cookonut will process the page and extract the recipe
- Review the result on the import preview screen
- Tap Save to add it to your collection
Why Use the In-App Browser?
The in-app browser is ideal when you want to:
- Discover new recipes — search and browse without leaving Cookonut
- Save multiple recipes in a session — browse a food blog and save several recipes one after another without switching apps
- Preview before importing — read through the recipe on the web page first, then decide if you want to save it
- Handle tricky websites — some sites that don’t work well with link imports may work better through the in-app browser
Tips for the Best Experience
- Navigate to the individual recipe page before tapping import — don’t try to import from a category page or search results
- Let the page fully load before importing — wait until you can see the full recipe content
- If a site has a “Jump to Recipe” button, tap it to scroll directly to the recipe content
- Use the browser for batch importing — when you find a blog you love, browse through and save multiple recipes in one session
Common Workflows
Weekend meal planning browsing:
- Open the in-app browser
- Visit your favorite food blogs
- Browse through recent posts
- Save any recipes that catch your eye
- After your browsing session, add your favorites to the meal plan
Searching for a specific dish:
- Open the in-app browser
- Search for “best homemade pizza dough recipe”
- Browse a few results to find one you like
- Save it to your collection
Credit Usage
Each recipe saved through the in-app browser uses 1 credit from your monthly pool. Free plan users get 10 credits per month; Premium users have unlimited imports. Simply browsing websites does not use any credits — only saving a recipe counts.
In-App Browser vs. From Link
Both methods produce the same result. The difference is workflow:
- From Link is faster when you already have a URL copied
- In-App Browser is better for discovering recipes and saving multiple in one session
Choose whichever feels more natural for the situation.
Thanks for your feedback! We're glad it helped.