Scan a Recipe from Photo
Articles in this section
🚀 Getting Started
📥 Importing Recipes
- How to Import Recipes
- Import from a Website
- Import from Instagram
- Import from Facebook
- Import from TikTok
- Import from Pinterest
- Import from YouTube
- Scan a Recipe from Photo
- Dictate a Recipe by Voice
- Import by Pasting Text
- Use the In-App Browser
- Write a Recipe from Scratch
- Review & Edit Before Saving
- Understanding Import Credits
📂 Managing Recipes
👨🍳 Cooking Mode
📅 Meal Planning
🛒 Grocery List
📤 Sharing & Export
💳 Billing & Subscription
⚙️ Account & Settings
ℹ️ About Cookonut
💡 Ideas & Feedback
Have a recipe in a cookbook, on a handwritten card, or in a screenshot? Cookonut can scan the image and turn it into a structured, editable recipe in your collection.
How to Scan a Recipe
- Open Cookonut and go to the Recipes tab
- Tap the + button
- Choose Scan recipe
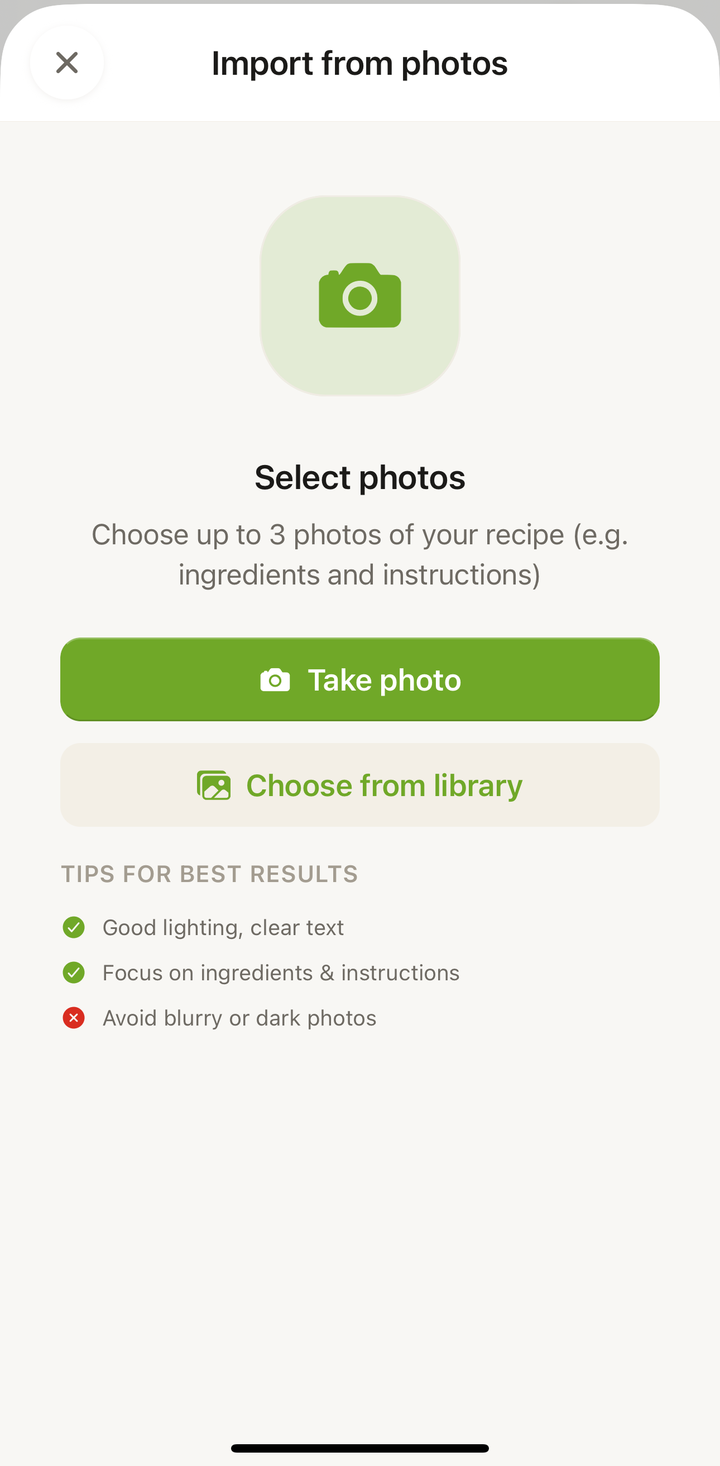
- You’ll have two options:
- Take Photo — use your camera to snap a picture right now
- Choose from Library — select an existing photo from your camera roll
- After selecting or taking the photo, tap Import
- Wait while Cookonut reads and processes the image
What Works Best
Cookonut can read text from many types of images:
- Cookbook pages — lay the book flat for the best results
- Handwritten recipe cards — clear handwriting works surprisingly well
- Magazine clippings — printed text is easy to read
- Screenshots — of recipes from apps, websites, or messages
- Photos of whiteboard or chalkboard recipes — as long as the text is legible
Tips for Taking Good Recipe Photos
The clearer your photo, the better the import:
- Lay the page flat — avoid curved pages that distort text
- Good lighting — natural light or a well-lit room works best; avoid harsh shadows
- Shoot straight on — hold your phone directly above the page, not at an angle
- Fill the frame — get close enough that the recipe text is large and readable
- Keep it steady — blurry photos produce blurry results
- One recipe per photo — if a page has multiple recipes, focus on the one you want
Multiple Pages
If your recipe spans two pages (like a cookbook spread):
- Take a photo of page one and import it
- In the preview, you may find the recipe is cut off at the page break
- You have two options:
- Edit the preview to manually add the remaining steps and ingredients
- Take a second photo and import it separately, then combine the recipes by editing
For best results, try to capture both pages in a single wide photo if possible.
Handwritten Recipes
Cookonut handles handwritten recipes remarkably well, but here are some tips:
- Print-style handwriting is easier to read than cursive
- Dark ink on light paper produces the best contrast
- Avoid smudges and stains — they can confuse the text recognition
- Be prepared to make a few edits in the preview, especially for unusual abbreviations
After Scanning
Once the image is processed, you’ll see the standard import preview screen. Take a moment to:
- Verify all ingredients were captured with correct quantities
- Check the instructions — make sure no steps were missed or combined incorrectly
- Add prep time, cook time, and servings if they weren’t in the original
- Assign tags and a cookbook for organization
Tap Save when everything looks good.
Credit Usage
Each photo import uses 1 credit from your monthly pool. Free plan users get 10 credits per month; Premium users have unlimited imports.
Common Issues
Text not recognized — The photo may be too blurry or too dark. Try taking a new photo with better lighting.
Recipe partially imported — The photo may have been cropped too tightly or included extraneous content. Edit the preview to fill in any gaps.
Wrong language detected — Cookonut automatically detects the language, but if it guesses wrong, you can correct the recipe text in the preview.
Thanks for your feedback! We're glad it helped.