
Scan a Recipe from Photo (iOS)
Articles in this section
🚀 Getting Started
📥 Importing Recipes
- How to Import Recipes
- Import from a Website
- Import from Instagram
- Import from Facebook
- Import from TikTok
- Import from Pinterest
- Import from YouTube
- Scan a Recipe from Photo
- Dictate a Recipe by Voice
- Import by Pasting Text
- Use the In-App Browser
- Write a Recipe from Scratch
- Review & Edit Before Saving
- Understanding Import Credits
📂 Managing Recipes
👨🍳 Cooking Mode
📅 Meal Planning
🛒 Grocery List
📤 Sharing & Export
💳 Billing & Subscription
⚙️ Account & Settings
ℹ️ About Cookonut
💡 Ideas & Feedback
Have a recipe in a cookbook, on a handwritten card, or in a screenshot? Cookonut on iPhone and iPad can scan the image and turn it into a structured, editable recipe. You can snap a photo with your camera or pick an existing image from your photo library.
How to Scan a Recipe
- Open Cookonut and go to the Recipes tab
- Tap the + button
- Choose Scan recipe
- Select one of the options:
- Take Photo — opens your iPhone or iPad camera to snap a picture
- Choose from Library — opens your photo library to select an existing image
- After selecting or taking the photo, tap Import
- Wait while Cookonut reads and processes the image
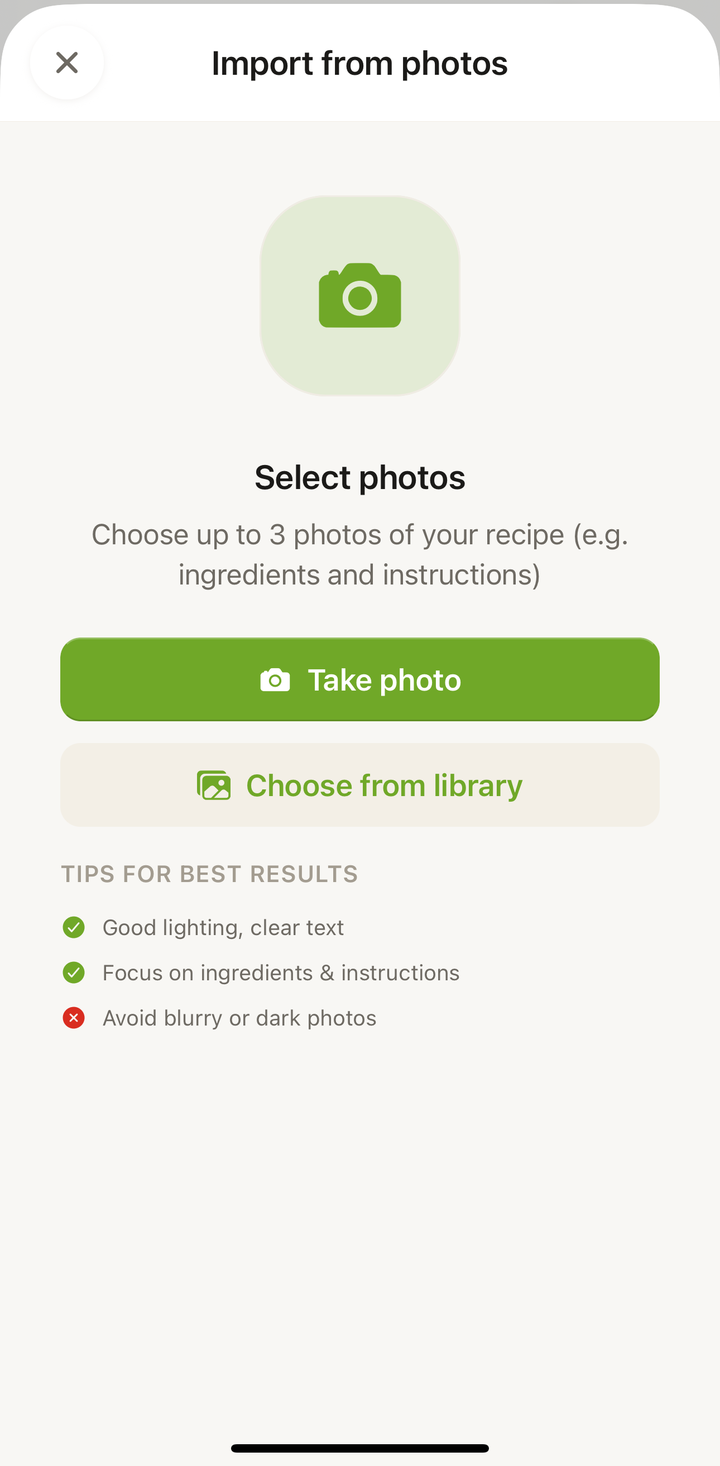
Cookonut needs camera and photo library access on iOS. If prompted, tap Allow to grant permission. You can manage these permissions later in the Settings app under Privacy.
Share Photos from Your Gallery
You don’t have to start inside Cookonut. Pick the photos where they already are and send them over — you land straight on the import screen with them loaded.
- Open Photos on your iPhone or iPad
- Select up to 5 photos of the recipe
- Tap Share and choose Cookonut
- Cookonut opens Import from photos with your photos already added
- Add a title if you want one, then tap Import to Cookonut
Worth knowing:
- Sent more than 5? They all stay on screen and the import button waits until you remove the extras — so you decide which pages to keep, not us.
- One credit per import, however many photos you send.
- Formats are handled for you. JPEG, PNG, HEIC and WebP all work; everything is converted and resized before it is read.
Tips for Taking Good Photos
The clearer your photo, the better the import:
- Lay the page flat — avoid curved cookbook pages that distort text
- Use good lighting — natural light works best; avoid harsh shadows across the page
- Shoot straight on — hold your iPhone directly above the page, not at an angle
- Fill the frame — get close enough that the recipe text is large and readable
- Keep it steady — tap to focus and hold still to avoid blur
What Works Best
Cookonut handles many types of images on iOS:
- Cookbook pages — lay the book flat for best results
- Handwritten recipe cards — clear handwriting works surprisingly well
- Screenshots — of recipes from apps, websites, or messages
- Magazine clippings — printed text is easy to read
Multiple Pages
A recipe spread over two cookbook pages fits in a single import: take up to 5 photos and send them together, in page order. Cookonut reads all of them and merges the ingredients and steps into one recipe. Capturing both pages in one wide photo works too, as long as the text stays readable.
Credit Usage
Each photo import uses 1 credit from your monthly pool. Free plan users get 10 credits per month; Premium users have unlimited imports.
Review Before Saving
After scanning, review the extracted recipe on the preview screen. Check that all ingredients were captured with correct quantities, make sure steps are in the right order, and add any missing details like prep time, cook time, or servings. When everything looks good, tap Save.
Thanks for your feedback! We're glad it helped.